Travel document problems usually appear at the worst moment: check-in is closing, the hotel desk wants a booking reference, a border officer asks for onward travel, a phone battery is low, or an insurance number is buried in an email thread.
The fix is not to carry more paper than necessary. It is to build one simple system before the trip: originals protected, copies separated, digital files available offline, and emergency details easy to reach.
Start With the Documents That Control Entry
Begin with the documents that decide whether you can travel at all. These vary by nationality, route, residence status, destination, airline, and purpose of travel.
For each country or territory on the itinerary, check:
- Passport validity rules.
- Visa, e-visa, electronic travel authorization, residence permit, or work permit requirements.
- Transit visa rules for connection airports.
- Vaccination, health, customs, or arrival-form requirements where applicable.
- Proof of onward travel, accommodation, invitation, funds, student status, employment, or insurance if required.
- Rules for children, one-parent travel, guardianship letters, or name differences.
IATA’s Travel Centre exists because airlines need current passport, visa, and health-document requirements before boarding passengers. Government travel-advice pages, embassy sites, airline notices, and official immigration portals should carry more weight than old forum posts or screenshots from another traveler.
If your passport may expire soon, deal with that first. Some destinations require extra validity beyond the travel dates, and processing times can turn a small oversight into a cancelled trip. GDU’s guide to checking passport validity before travel is a useful companion step before you book non-refundable plans.
Build a Master Checklist for This Trip
Create one checklist for the exact trip, not for travel in general. A weekend domestic trip, international conference, family holiday, cruise, student exchange, religious pilgrimage, work assignment, or multi-country backpacking route will not need the same documents.
Use four groups:
- Identity and entry: passport, national ID where accepted, visa, e-visa approval, residence card, permits, child travel letters, vaccination or health documents where required.
- Transport and accommodation: flight, train, bus, ferry, rental-car, parking, transfer, hotel, apartment, campsite, tour, and event confirmations.
- Money and protection: travel insurance, medical insurance details, payment cards, emergency cash plan, bank contact numbers, rental deposit rules, and claim instructions.
- Emergency and support: embassy or consulate contacts, local emergency numbers, family contacts, doctor or insurer contacts, medicine list, prescription copies, allergy notes, and itinerary shared with someone trusted.
Keep the master checklist short enough to use when you are tired.
Put Originals in One Protected Place
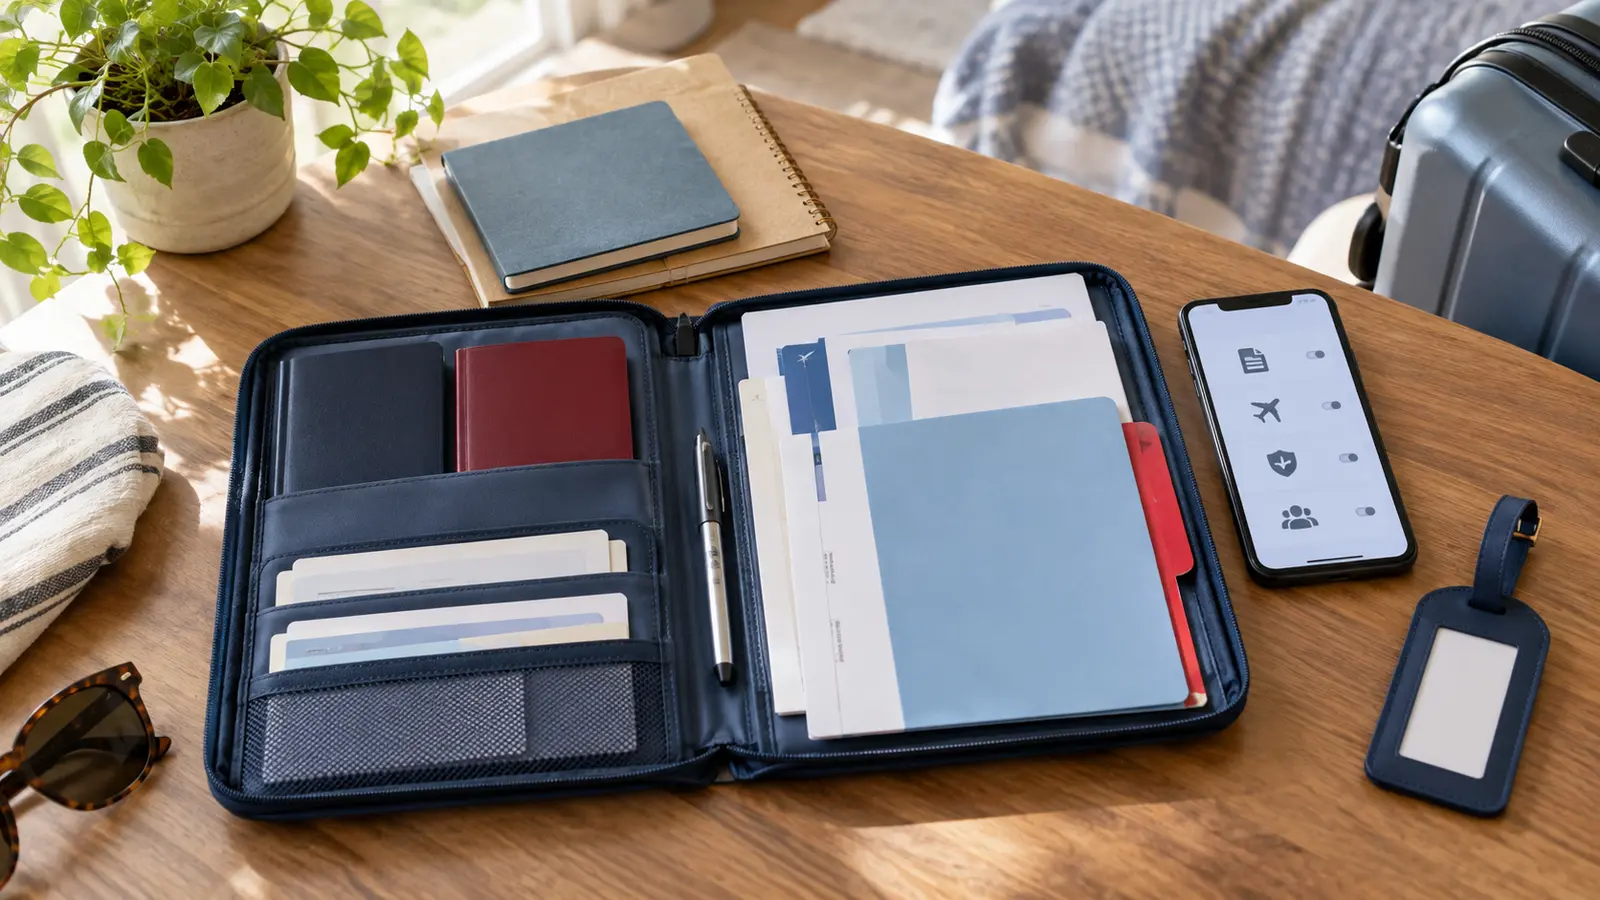
Original documents need a predictable home. Use a slim travel wallet, zip folder, passport pouch, or internal bag pocket that closes securely. Choose one place and tell every adult traveler where it is.
Keep these originals together only when you need them together:
- Passport or accepted travel ID.
- Visa sticker, residence card, permit, or printed e-visa if required.
- Driver’s license and international driving permit if relevant.
- Essential booking papers for travelers who may not have reliable phone access.
- Medical documents that must be presented in original form.
Once you arrive, do not automatically carry every original everywhere. Follow local rules, but avoid carrying passport, cash, cards, insurance papers, and every backup copy in the same pocket.
Make Copies That Actually Help
Copies are useful only if they are readable, current, and stored away from the originals. The U.S. State Department and Canada’s travel guidance both advise travelers to make copies of important travel documents and keep a set separate from the originals, with another set left with someone trusted.
For most trips, copy or scan:
- Passport photo page.
- Visa, e-visa approval, residence permit, or travel authorization.
- Travel insurance certificate and emergency assistance number.
- Driver’s license and international driving permit if driving.
- Prescriptions, medicine names, allergy notes, and important medical summaries.
- Flight, accommodation, transfer, tour, and rental confirmations.
- Emergency contacts and embassy or consulate contacts.
Do not photocopy everything you own. Mark copies clearly as copies, keep them separate from originals, and avoid leaving them loose in hotel rooms, seat pockets, shared workspaces, or rental cars.
Create an Offline Digital Folder
Email is not a document system. It works until mobile data fails, an airport Wi-Fi login needs SMS, a booking app signs you out, or the attachment is buried under promotion emails.
Create a trip folder on your phone and, if useful, a second device. Save PDFs or clear images with plain names such as:
passport-copyvisa-approvaltravel-insurancehotel-confirmation-city-datereturn-flightemergency-contactsmedicine-list
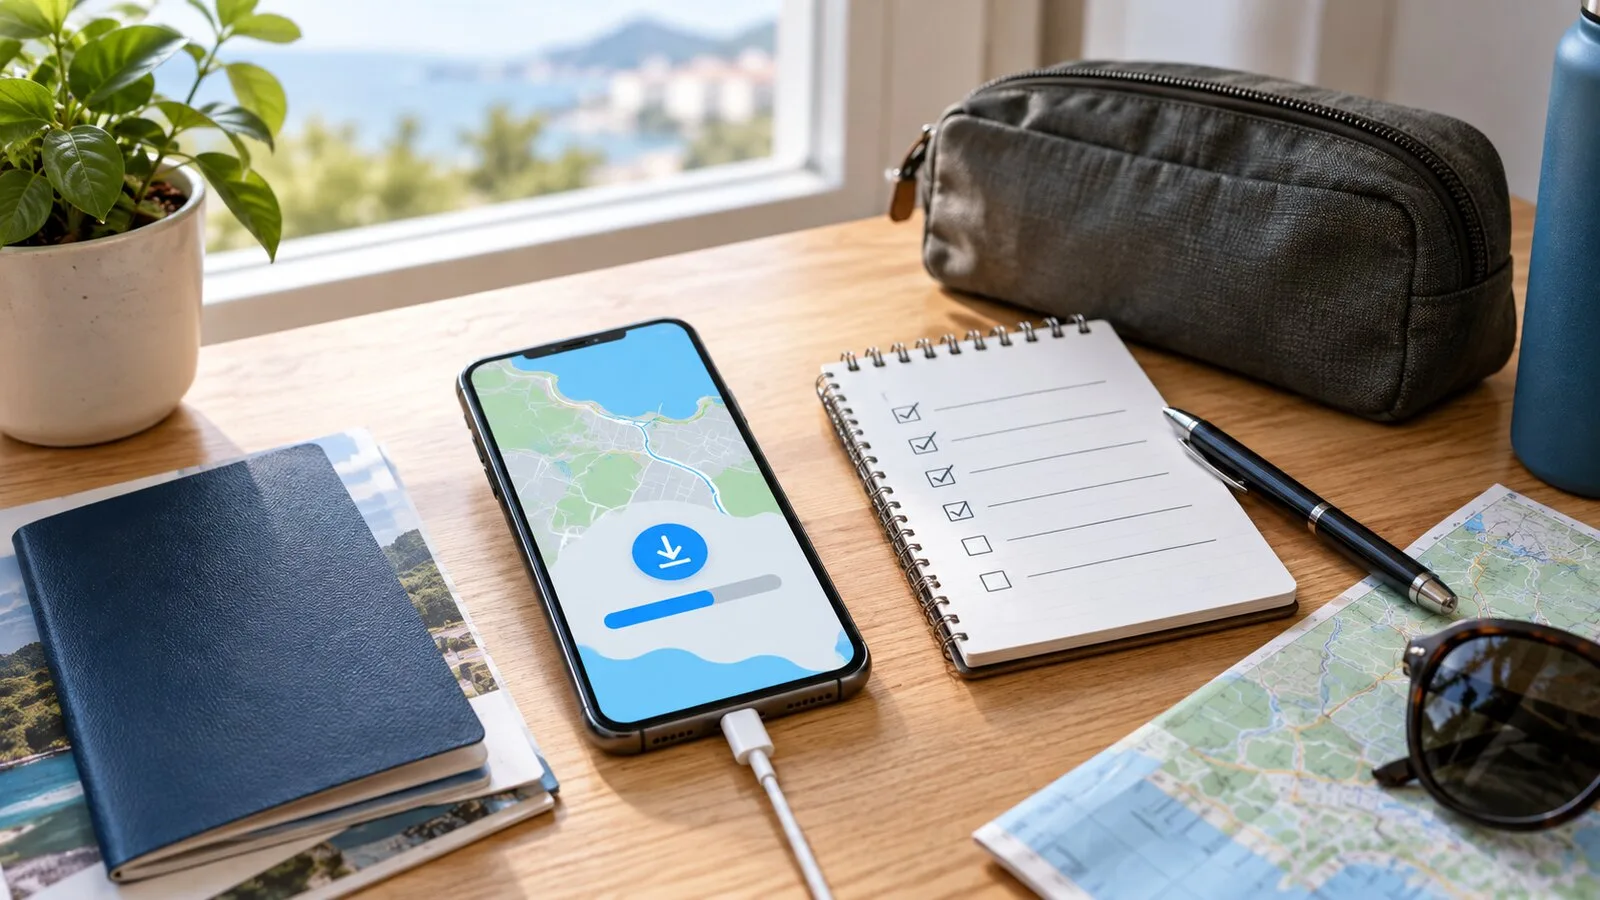
Download files for offline access. Test this by switching your phone to airplane mode and opening the folder. If a file still needs the internet, fix it before travel day.
Protect the folder with the device lock and avoid storing unnecessary full-card numbers, passwords, or financial details. If you use cloud storage, make sure the most important files are also available offline.
For route planning, pair this with offline maps before travel so you are not depending on data access for both directions and documents.
Keep the Day-of-Travel Layer Small
On departure day, you do not want to search through a large folder for a single booking reference. Make a small “today” layer for the next 24 hours.
That layer might include:
- Passport or ID.
- Boarding pass or transport ticket.
- Visa or entry approval if it may be checked before boarding.
- Accommodation address for arrival.
- Transfer details.
- Insurance emergency number.
- Local address and contact for children, older relatives, or group travelers.
Everything else can stay in the wider document folder. This keeps check-in, immigration, boarding, hotel arrival, and transfers smoother.
If you are checking luggage, keep this day-of-travel layer in the personal item that stays with you. Important documents should not go into checked luggage. GDU’s guide to preparing for a checked-luggage delay explains why the accessible bag matters when plans change.
Share the Right Information With the Right Person
Someone at home should know your itinerary, but not every person needs every document. Choose one trusted contact and share what would help in a real problem:
- Full itinerary and accommodation addresses.
- Flight or transport numbers.
- Copies of important documents if appropriate.
- Travel insurance provider and emergency assistance number.
- Your emergency contact plan.
- How to reach you if your main phone is lost.
For group trips, agree on who holds backup copies and emergency details. Children and older travelers should have a simple card with contact information in a language that will be understood at the destination where practical.
Do not overshare sensitive documents in group chats. They are easy to forward, hard to delete, and often backed up in places you do not control.
Review Insurance and Medical Details Before You Need Them
Travel insurance documents are often ignored until a claim or emergency. Read the essentials before departure:
- Policy number.
- Emergency assistance phone number.
- What to do before seeking non-urgent treatment.
- Medical evacuation coverage if relevant.
- Exclusions for activities, alcohol, pre-existing conditions, regions, or valuables.
- Proof needed for lost baggage, delays, cancellations, or medical claims.
The U.S. State Department advises travelers to consider travel medical insurance because domestic health cover may not pay for care abroad. Canada also tells travelers to buy travel insurance before leaving the country. The broader lesson applies globally: know who pays, who to call, and what documents you need before stress makes reading difficult.
If you carry medicine, keep prescriptions and medicine names accessible. Check destination rules early because a medicine that is legal at home may be restricted elsewhere.
Do a Final Document Drill
Two or three days before departure, run a simple drill. Pretend you are at check-in and cannot use the internet.
Can you find:
- Passport or ID.
- Visa or travel authorization.
- Boarding pass or booking reference.
- Accommodation address.
- Travel insurance emergency number.
- Return or onward travel proof if needed.
- Emergency contact details.
- Copies separate from originals.
Then check names, dates, passport numbers, route, destination spelling, and document expiry dates. Small differences matter. A middle name, old passport number, wrong hotel date, misspelled name, or expired card can create delays.
Finally, remove old travel documents from your active folder. Last year’s visa, cancelled hotel, old boarding pass, or expired insurance certificate can confuse you when you need the current file quickly.
Practical Takeaway
A travel documents checklist is not about carrying a thick folder. It is about building a calm chain: verify requirements, protect originals, separate copies, save offline files, keep the travel-day layer small, and share emergency details with the right person.
Do that before packing becomes rushed, and the documents stop being a source of anxiety. They become what they should be: quiet support for the trip you actually planned.