
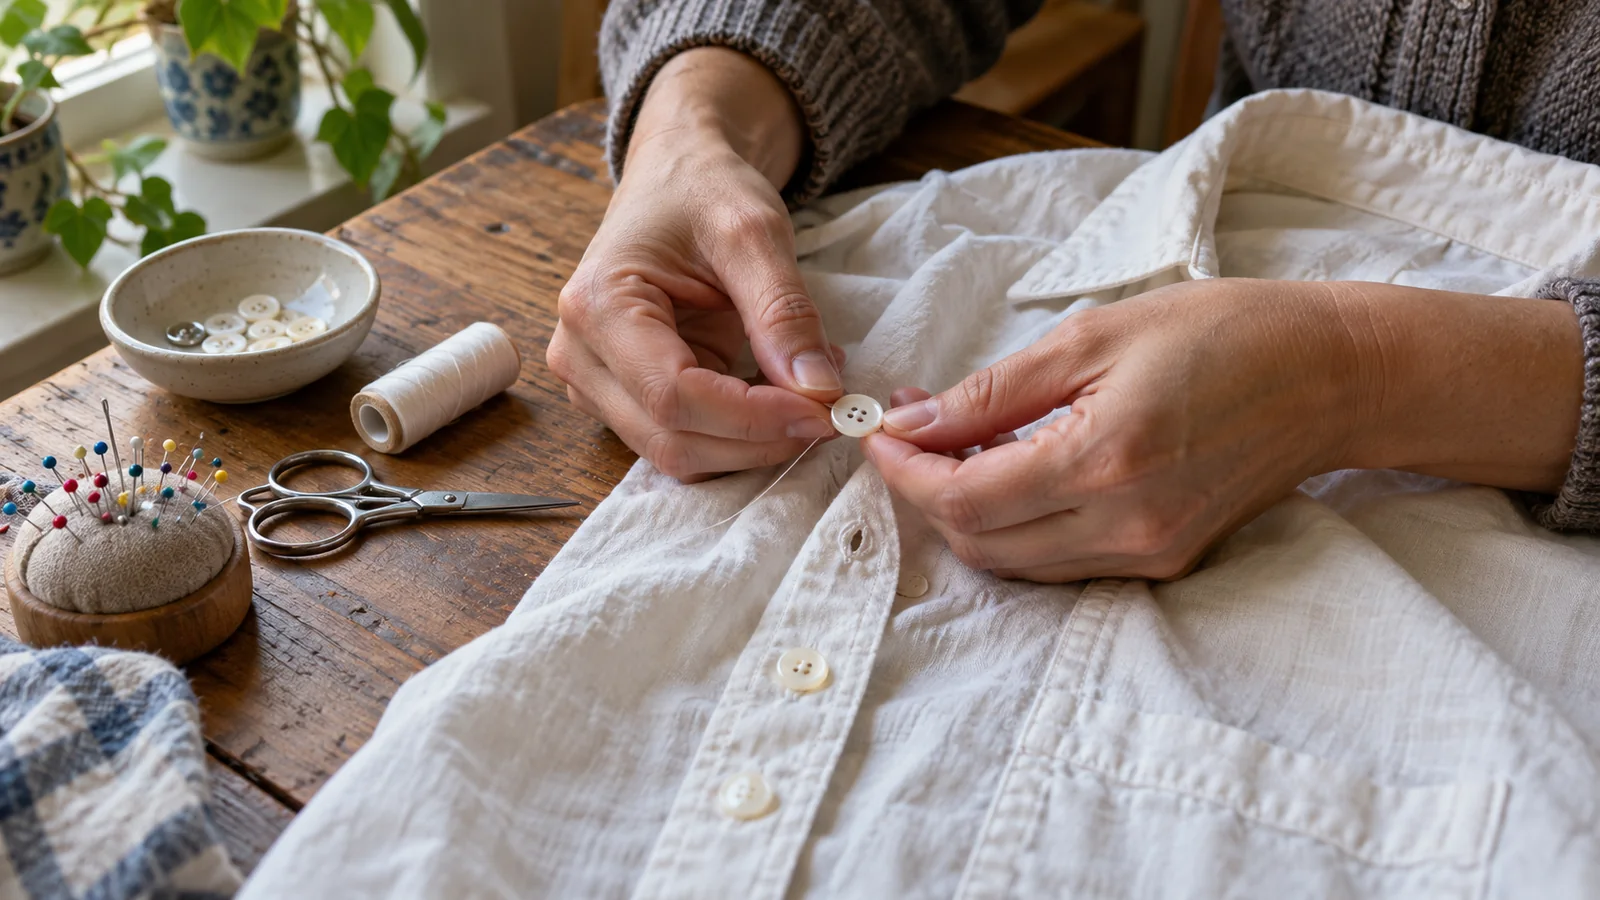
To sew a button back on by hand, position it where the fastening needs to meet, stitch through the button and sound fabric, then secure the thread and test the closure. You need a needle, suitable thread, scissors and a replacement button. A sewing machine is unnecessary for this small repair.
Start with an ordinary shirt or similar woven garment. The goal is a button that stays attached while allowing the buttonhole to slide over it comfortably. Take the garment off before working, sit somewhere well lit and give yourself space to put the needle down safely.
Check the Garment Before You Start
Look at the place where the button came away. If there is a tear, an enlarged hole or fabric worn almost transparent, sewing directly into that spot will not address the underlying damage. Set it aside for reinforcement or ask a repairer to assess it. This guide assumes the cloth itself remains sound.
Compare the missing fastening with its neighbours. Flat buttons usually have two or four holes through the face. A shank button has a loop underneath instead. Press studs and metal jeans buttons use different attachments; do not try to treat them as ordinary sew-through buttons.
For a replacement, check any spare supplied with the garment before choosing something else. Match the diameter and thickness as well as the colour. Try the loose replacement through the buttonhole before sewing: an attractive button is unhelpful if it cannot pass through or slips out easily.
Leave delicate, valuable or complicated garments to someone with appropriate repair experience. For clothing intended for children aged three or under, use a professional repair service rather than this beginner project, because a loose button is a small-part hazard.
Gather a Small Working Kit
You do not need a large craft collection. Put these items on a tray or clear section of table:
- A hand-sewing needle that passes through the button holes.
- Sewing thread suited to the garment, in a colour that matches the existing stitching.
- Small scissors and the replacement button.
- Tailor’s chalk or a suitable temporary fabric marker, if placement needs marking.
- A pincushion or another secure needle holder; a thimble is useful if you need one.
Test a marker on an inconspicuous area first. Lay the garment out so you can reach the reverse of the repair without accidentally stitching it to another part of the shirt. Keep loose needles, scissors and buttons away from children and pets throughout the job.
Sew the Replacement in Place
Work slowly enough to see where each stitch enters. The following sequence suits a standard flat button on an everyday garment.
Find the fastening position.
Remove loose old thread carefully without cutting the cloth. Use the remaining stitch marks as a starting point, then align the garment edges as they would sit when closed. Check the position against the matching buttonhole and neighbouring buttons. Make a small temporary mark if needed. Do not simply move the button sideways to compensate for a garment that no longer fits.
Thread the needle and anchor the thread.
Cut a manageable length of thread, pass it through the needle and bring the ends together for a doubled strand. Knot the ends. From the reverse, bring the needle through the fabric at the attachment point and pull gently until the knot rests against the back. A very long strand is awkward to manage; start again with a shorter piece if it keeps tangling.
Stitch through the button and fabric.
Pass the needle up through one button hole, then down through another and through the cloth close to the starting point. Repeat to form several secure passes. For four holes, stitch both pairs, copying the parallel or crossed pattern on the other buttons. Check underneath as you work so you have not caught a sleeve, pocket or the opposite garment front.
Allow room for the buttonhole layer.
Keep the cloth smooth rather than pulling it into a tight dimple. A functional button needs clearance for the fabric that closes over it. On thicker fabric, a short thread stem beneath a flat button can provide this space: hold the button slightly above the cloth while stitching, then bring the needle beneath it and wrap the attachment threads before securing. A thin shirt needs much less clearance than a coat; avoid creating an unnecessarily long, floppy stem.
Secure the end and trim.
Bring the needle to the reverse. Take a small stitch beside the attachment, pass the needle through the resulting thread loop and tighten gently to form a securing knot. Repeat to lock the end, then trim the excess without cutting the working stitches or cloth. Put the needle straight into its holder before inspecting your repair.
Test the closure.
Give the button a gentle stability check, then fasten and unfasten it. The garment edges should meet naturally, with the buttonhole able to settle around the attachment. Look at the front and reverse for puckering, caught layers or loose loops. If the repair pulls the garment out of shape, redo it before wearing it.
Diagnose the Result Before Adding More Stitches
More thread will not correct every problem. Use the behaviour of the fastening to choose what to change.
| What you notice | What to check next |
|---|---|
| The edges sit unevenly when fastened | Recheck placement with the garment laid naturally flat. |
| The buttonhole is difficult to move over the button | Check button size and thickness, then the clearance under it. |
| The button hangs loosely on long loops | Redo the attachment with more controlled tension. |
| Fabric gathers around the stitches | Release the tight attachment and resew without drawing the cloth together. |
| The fabric begins to tear | Stop and assess reinforcement or professional repair. |
If thread knots midway through the job, stop pulling. Inspect the tangle with the needle parked safely. Undo it if possible; otherwise remove the affected stitching carefully and restart. Trying to drag a knot through the button hole can turn a small repair into a frustrating one.
A shank button needs stitches through its underside loop rather than through its face. If that is the type you have, examine an intact matching fastening before proceeding. The required space and attachment can differ from the flat-button method above.
Make Small Repairs Easier to Finish
Keep spare buttons labelled with the garment they belong to. An envelope or small divided container prevents a replacement from becoming another unidentified object. Store the sewing kit somewhere accessible but secure, with the needle accounted for after each use.
Check nearby buttons while the garment is already on the table. A loose thread is easier to notice now than when dressing for an appointment. Keep this separate from broader clothing care: our guide to a laundry routine that helps clothes last longer covers washing and drying decisions.
Start with one ordinary repair and judge the result by how the fastening works. When the button is stable, the cloth lies smoothly and the garment closes comfortably, the job is finished.