A resistance band takes little room, but its setup deserves attention before the first repetition. Resistance band safety starts with checking the equipment and knowing how it should be used, rather than pulling harder to see whether it holds. A damaged band or an unsuitable attachment can turn a simple exercise into a rebound towards the face or eyes.
Make the checks part of getting ready, alongside clearing the floor. They are easier to remember when they happen before the band is stretched. If your band was supplied for rehabilitation, follow your physiotherapist’s programme and ask about any setup you cannot reproduce confidently.
Start With the Band You Actually Own
Flat elastic strips, closed loops and tubes with handles are different products. Instructions for one do not automatically apply to another. Find the model’s guidance for intended exercises, attachment methods, maximum stretch, care and replacement. Keep it somewhere you can retrieve it without searching during a session.
Do not assume a colour tells you the resistance across different brands. Choose the product and resistance recommended for your exercise and ability. If you cannot identify an old band or find its instructions, ask the supplier before using it under tension. An inexpensive piece of equipment still needs usable information.
Check material information too. Some bands contain natural rubber latex. If you have a latex allergy or sensitivity, ask for a suitable latex-free option; do not judge the material by appearance. Stop using a product that causes a suspected reaction and seek appropriate healthcare advice.
Check Before Every Session
Use this sequence while the band is relaxed and there is enough light to see its surface. Inspection is a reason to reject damaged equipment, not a guarantee that an apparently sound band cannot fail.
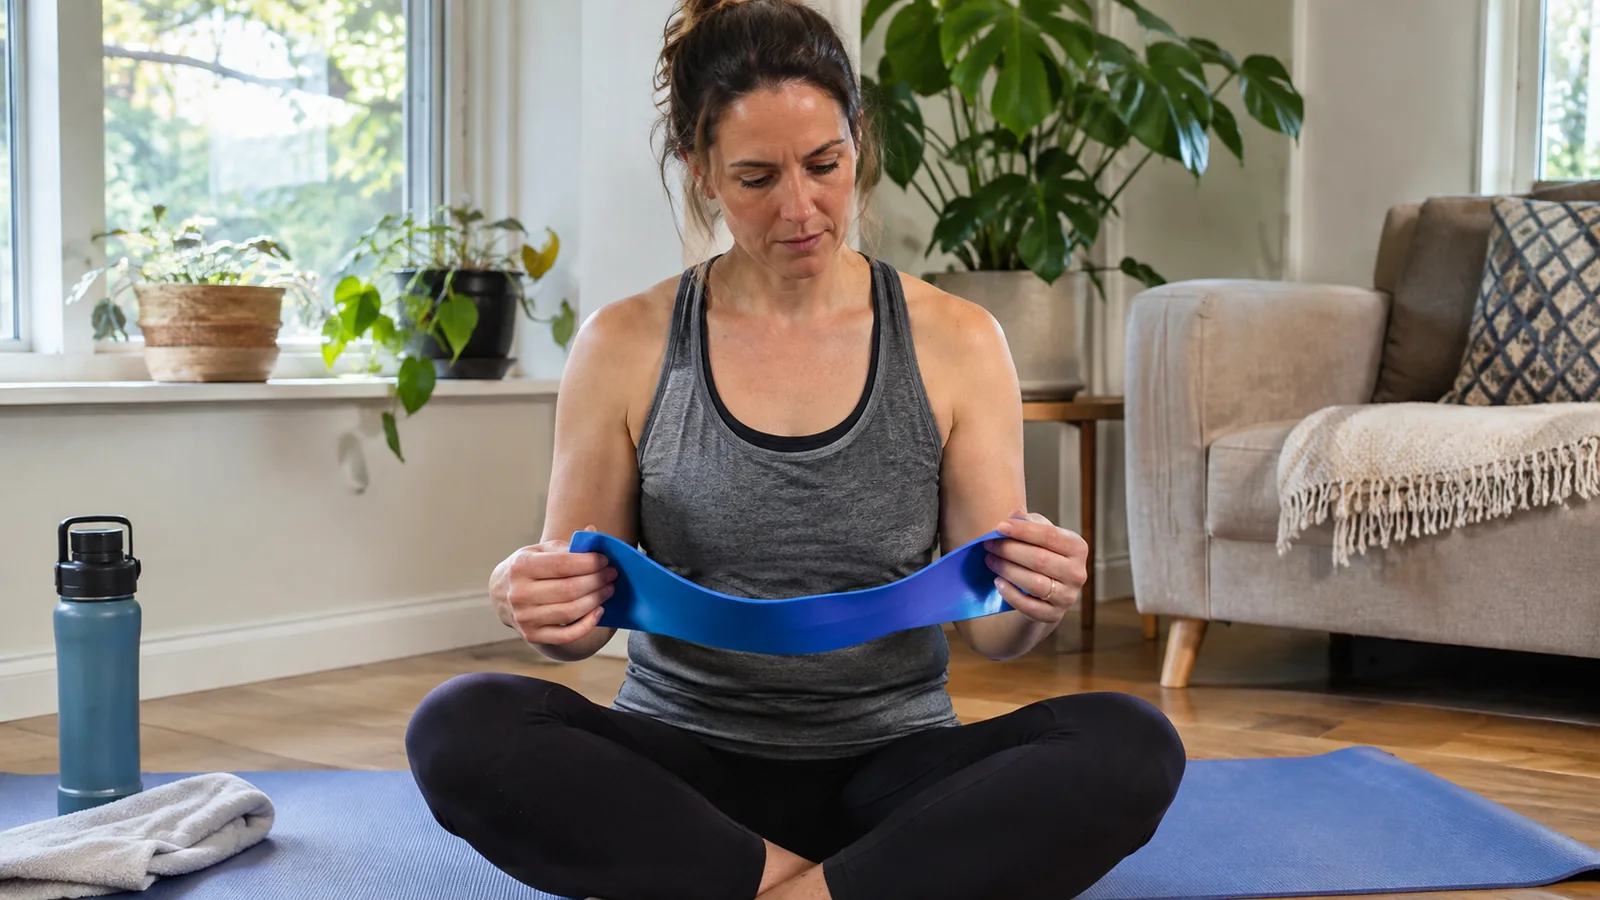
Look along the whole length. Check both sides and edges for nicks, tears, punctures, cracks or abrasions. Do not skip the section that was folded away in the bag.
Check where parts meet. On products with handles, clips or other connections, examine those areas and follow the manufacturer’s assembly checks. A sound middle section does not establish that the ends are secure.
Remove possible causes of damage. Take off jewellery that could catch the material, be careful with long nails and move sharp objects out of the exercise area.
Set damaged equipment aside. Do not use a flawed band. Replace it through the supplier or physiotherapy service as appropriate, rather than hiding the damage with a knot or tape.
Keep a damaged band separate from usable equipment so someone else does not pick it up. A simple household rule helps: equipment awaiting replacement does not go back into the exercise bag. There is little value in discovering the same tear at every session.
Make the Grip and Attachment Understandable
Use the grip shown for your particular exercise and product. If the band slides, the handle feels insecure or the material bunches in a way you do not understand, stop and check the instructions. Do not compensate by increasing tension or inventing another wrap around your hand.
Avoid improvised door anchors, furniture attachments and combinations of clips or cords that the product instructions do not support. A door handle is not an exercise attachment merely because a band fits around it. For an exercise requiring an anchor, use a compatible system installed exactly as specified, and get help if its suitability is uncertain.
A band can also slip from a body part. Do not treat a foot or hand placement as automatically secure. Ask a qualified professional to check the setup if you are unsure where the band belongs or how to maintain control. This is especially useful when copying a movement from a short video that leaves the starting position unclear.
Clear the Space Around the Movement
Before starting, picture the full movement and where the band could travel if it slipped or broke. Keep your face and other people’s faces out of that potential path. Move children, pets and bystanders away from the exercise area. Bands should not be left available as toys.
Clear loose objects from the floor and choose a position where you can stay balanced. Check that the movement will not bring the band against a sharp edge. A practical example is moving a chair or storage box before a session, rather than trying to steer every repetition around it.
Follow the manufacturer’s eye-protection advice. Performance Health recommends protective safety eyewear for its THERABAND kits and cautions that ordinary spectacles may not provide the necessary protection. Eyewear does not make a poor attachment or damaged band acceptable.
Add Tension With Control
Stay within the stretch limit specified for your product and exercise. There is no single limit in this article that should replace the instructions for every band. Avoid jerking the movement or letting the band snap back. Return towards the starting position with control, then release tension before changing your grip or putting the equipment down.
Choose a resistance that allows the prescribed movement without losing your position. If the exercise requires leaning, twisting or a different grip simply to complete it, pause and ask whether the resistance or setup should change. Your beginner strength-training plan can remain simple while you learn the equipment.
Stop if you develop sharp pain or cannot control the movement. Contact your physiotherapist or another appropriate healthcare professional about persistent pain or an exercise that repeatedly causes difficulty. Do not add repetitions to prove you can work through a problem.
Put the Band Away Ready for Next Time
Follow the product’s cleaning guidance, because different materials and accessories may need different care. Store bands away from direct sunlight, extreme temperatures and sharp objects. Let other household members know which equipment is yours and where it belongs.
Do not assign every band a universal replacement date. Usage, material and product instructions differ. Check before each use and replace equipment that shows wear; a recent purchase date does not override visible damage.
If the setup is uncertain today, choose another activity that suits you, such as your usual walking routine, rather than improvising an attachment. The useful habit is straightforward: understand the product, inspect it, clear the space and use only a setup you can control.