To pack salad for lunch, start with dry leaves, keep dressing in a sealed pot, and separate ingredients that release liquid. Refrigerate the prepared food overnight, then carry it with adequate cooling until you can put it in a fridge or eat it. Good packing protects texture; reliable cold storage protects safety.
You do not need a special salad jar or a cupboard full of matching boxes. A clean food container, a small leakproof dressing pot and a way to keep lunch cold are enough to try the routine. Begin with one meal so you can see what works with your commute and appetite.
Choose Ingredients Around Your Actual Lunch Break
Think about where you will eat before choosing a recipe. A desk with space for a bowl makes mixing easy. A short break on a bench may call for a wider container that doubles as your bowl. Check whether there is a working fridge at your destination rather than assuming one will be available.
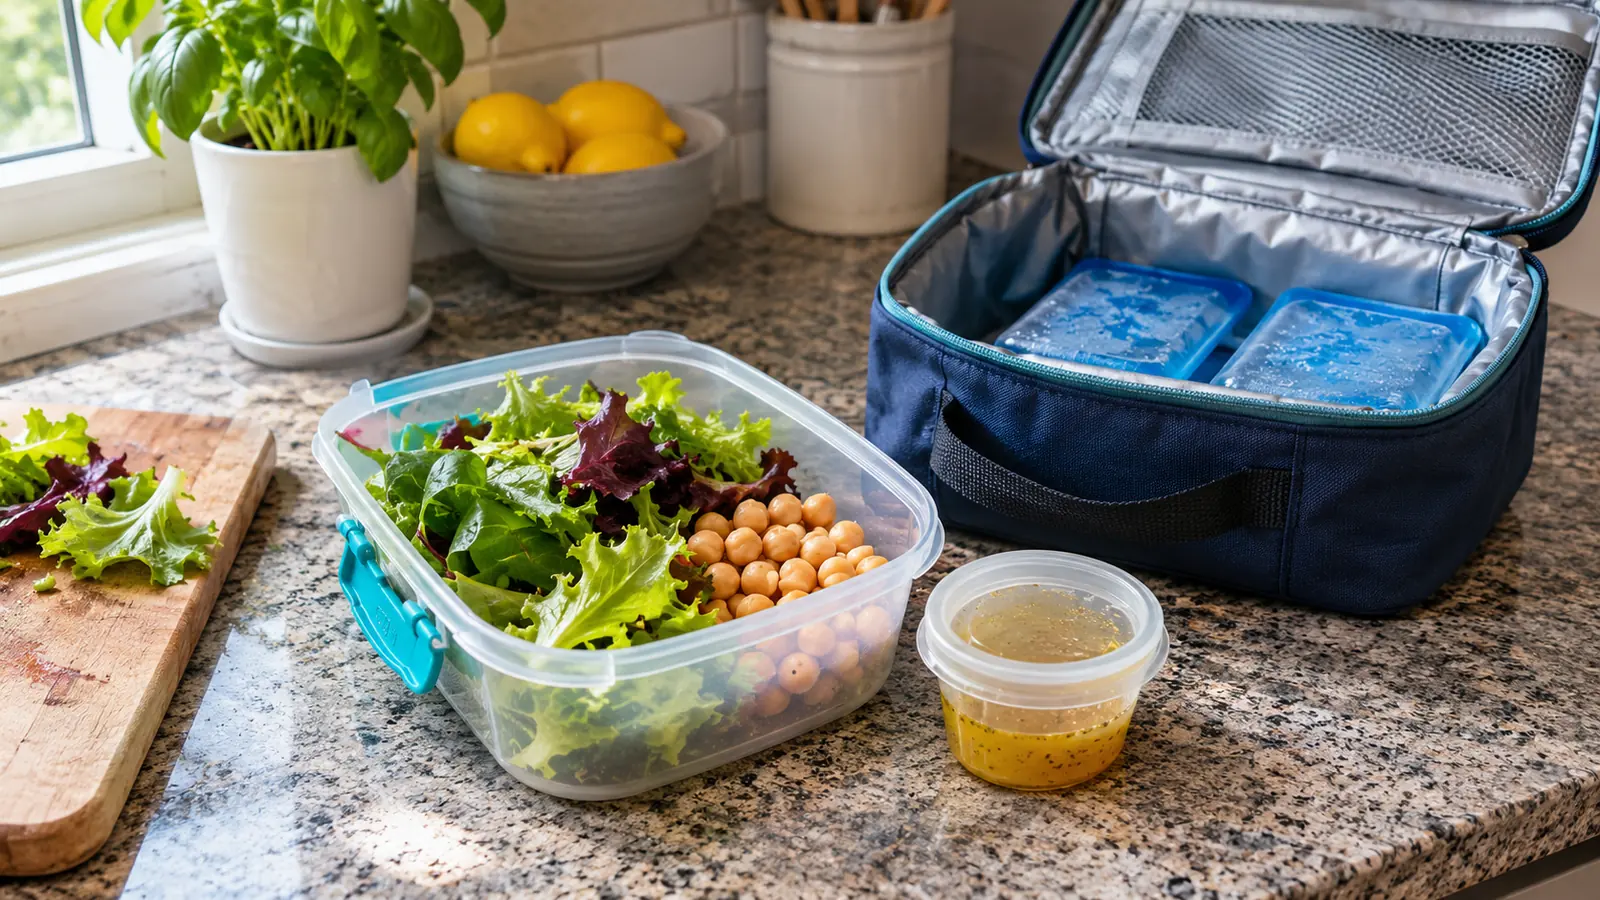
Choose a combination you already enjoy. Leaves, grated carrot, chickpeas and a dressing make one straightforward option. You could use shredded cabbage instead of delicate leaves, or include cooked ingredients you have already chilled safely. There is no need to buy several unfamiliar toppings for a single lunch.
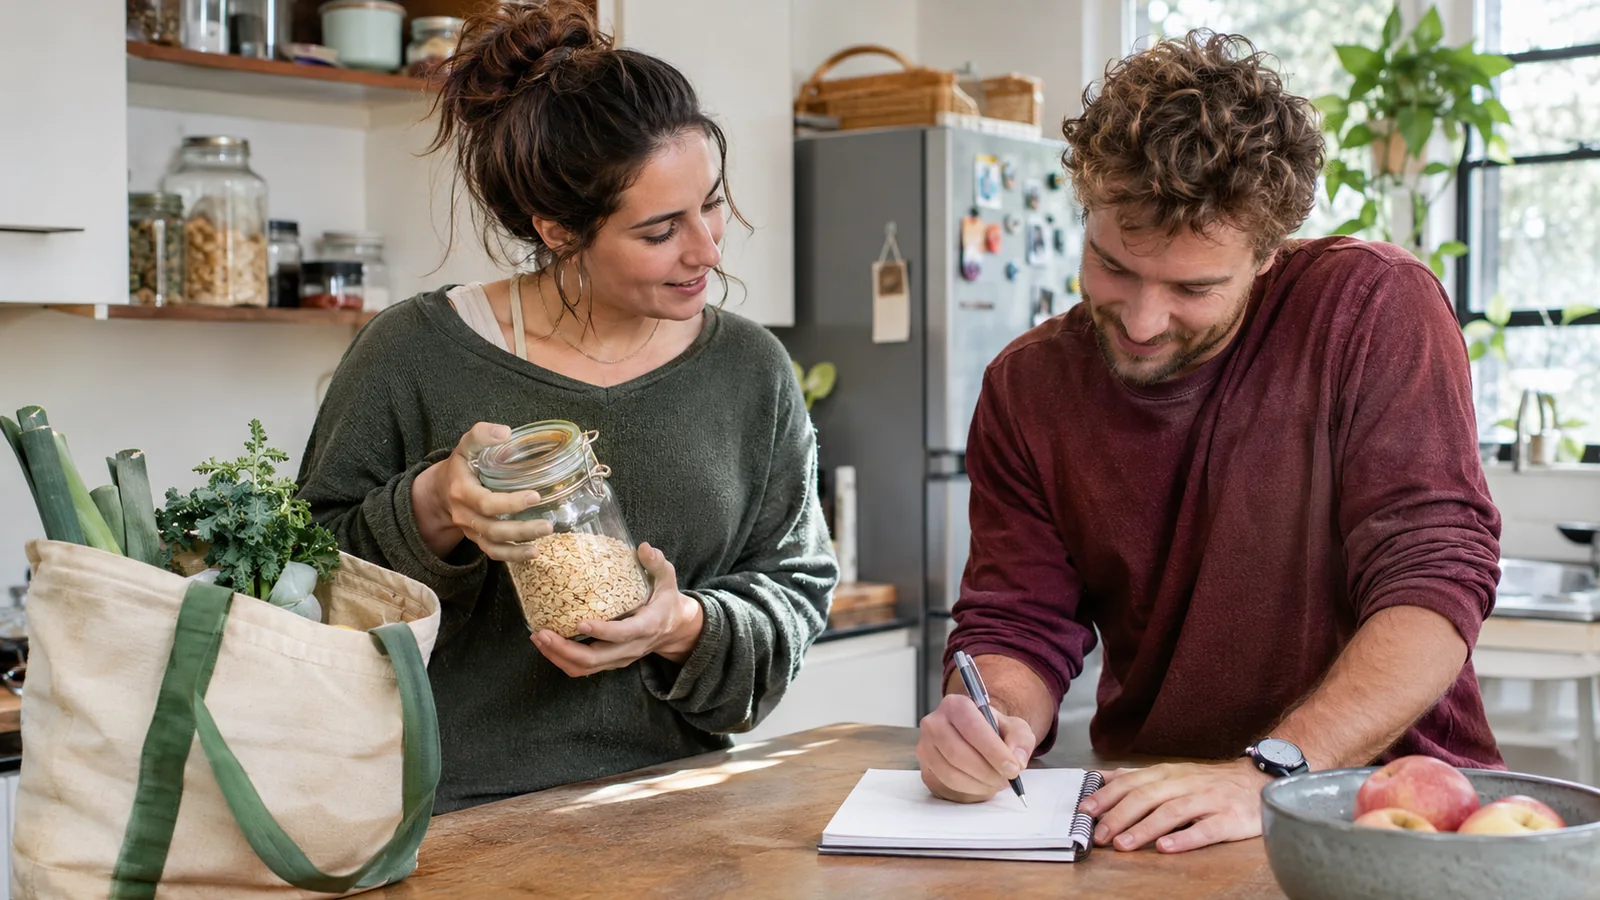
Write down quantities for the lunches you actually expect to take. A grocery list based on your week helps avoid buying a large bag of greens when you only need one serving. Keep a second use in mind for spare ingredients, such as carrots for dinner or chickpeas for another meal.
Pack the Components in a Useful Order
Follow this sequence the evening before, or in the morning if that fits your routine better. Keep preparation brief and return perishable ingredients to the fridge promptly.
Prepare a clean workspace. Wash your hands and use clean containers, utensils and work surfaces. Keep ready-to-eat salad ingredients away from raw meat and its juices. Wash produce under running water when required; do not use soap. Greens labelled ready-to-eat or pre-washed can be used without another wash.
Remove excess water. Drain washed leaves thoroughly and use a clean towel or salad spinner to dry them. Check folds where water collects. Drying is a texture step, not a substitute for safe handling, and the leaves do not need to be squeezed or rubbed roughly.
Drain the heavier ingredients. Let rinsed canned beans or chickpeas drain before adding them. Pack juicy chopped tomatoes or other wet toppings in a separate compartment if they tend to leave your preferred greens soggy. Avoid tipping leftover liquid into the salad box.
Leave room to mix. Put sturdier ingredients into the main container and add delicate leaves without compressing them. If the box must be filled tightly, take a separate bowl or choose a larger box next time. A pretty layered arrangement is less useful if you cannot combine or eat it comfortably.
Seal dressing and crunchy extras separately. Use a small food-safe pot with a secure lid for dressing. Keep croutons or seeds in a dry compartment, following any allergy restrictions at your workplace or school. Add these at lunchtime so they retain their intended texture.
Refrigerate the packed components. Close the containers and put them in the fridge. Leave only the empty insulated bag, clean cutlery and other non-perishable supplies ready by the door. Set a reminder if you tend to forget food that is out of sight.
Separate pots are useful only if you will use them. If washing several tiny containers discourages you from packing lunch, start with the dressing pot and one main box. Adjust the setup after a real lunch break instead of buying an elaborate system first.
Keep Lunch Chilled Throughout the Journey
Keep your refrigerator at 4°C (40°F) or below, checking with an appliance thermometer. A fridge temperature check is more reliable than judging the air by touch. Chilled ingredients should stay chilled while you prepare and transport them.
For the journey, use an insulated lunch bag with at least two cold sources, such as frozen gel packs or a frozen water bottle and a gel pack. Place cooling sources around the perishable food. An insulated bag slows warming; it does not create cold on its own. Put lunch in the destination fridge promptly when one is available.
Do not leave perishable food unrefrigerated for more than two hours, or one hour when the surrounding temperature exceeds 32°C (90°F). These limits include time spent preparing, travelling and waiting to eat without adequate cooling. They are outer limits, not a recommended daily storage plan. If lunch has exceeded them, discard it rather than relying on its smell or appearance.
A cold salad still needs temperature control even when it contains no meat. If you cannot maintain chilled storage on a particular day, choose a different lunch suited to those conditions. Adding vinegar or lemon dressing does not turn the packed salad into a shelf-stable meal.
Solve the Problem You Actually Notice
If lunch arrives soggy, check for water trapped in the leaves, poorly drained toppings or a leaking dressing pot. Change one thing for the next attempt. For example, keep chopped tomato separate before deciding that you need to replace every container.
If the leaves are crushed, reduce how much you pack into the box or switch to a wider shape. Keep heavy items in another compartment when possible. Carry the bag so the container stays upright rather than wedged sideways beneath other belongings.
If you regularly leave part of lunch uneaten, pack a smaller portion next time. Do not assume the finished mixture has a fresh storage period simply because you assembled it today: any cooked leftovers retain their original storage history. Follow ingredient labels and the safe handling of leftovers rather than assigning every salad the same number of days.
At lunchtime, add the dressing gradually, mix, then add the crunchy extras. After eating, empty and wash the reusable containers and let them dry for the next use. A simple system that gives you a lunch you enjoy is easier to repeat than one that requires elaborate preparation every evening.