A box of printed photographs can hold years of memories and very little information about where anything belongs. The difficult part is often deciding whether to sort by person, date or occasion—and what to do with pictures nobody recognizes.
Start with one small batch, preserve any clues already attached to it, and choose a filing system you can explain in a sentence. You do not need an exact date for every picture or an album for every print. The aim is to make photographs easier to find while keeping their context and protecting them from avoidable damage.
Sort, Label and Store One Batch
Prepare a Clear Space and a Manageable Batch
Choose a clean, dry table away from food, drinks and direct sunlight. Bring one envelope or small box to the table rather than emptying the entire collection. Leave room for the photographs, a few folders and a separate sheet for notes.
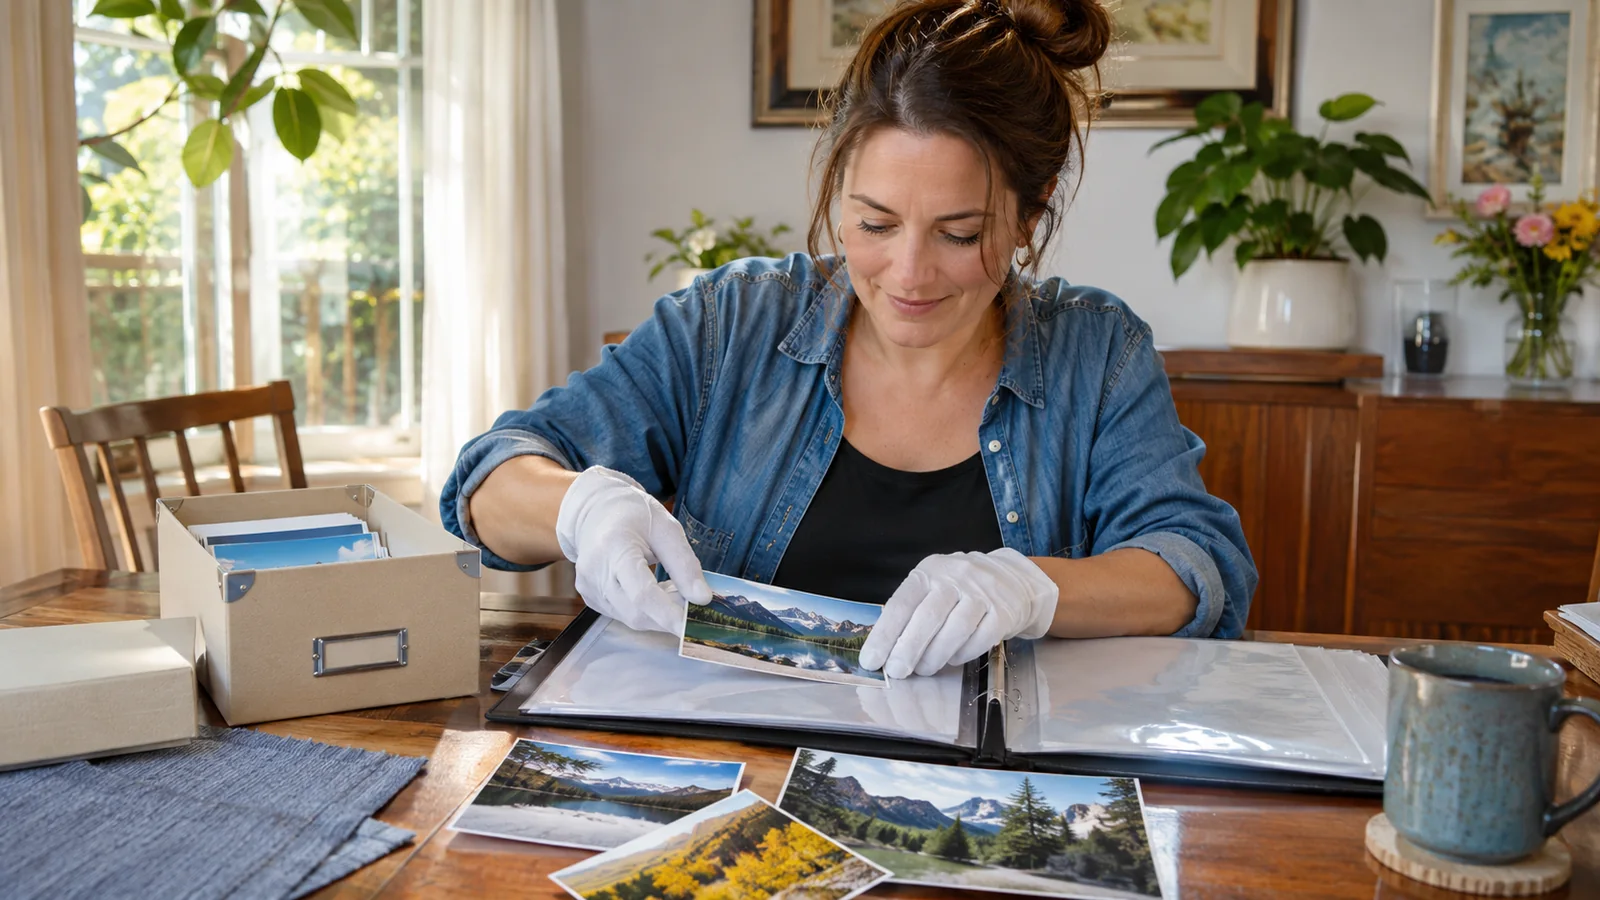
Use clean, well-fitting nitrile or lint-free cotton gloves and handle prints by their edges. Support larger photographs with both hands. Avoid bending a print to see whether it will flatten; a slight curl is not a reason to roll it in the opposite direction.
Keep photographs that are stuck together, attached to album pages or visibly damaged aside for specialist advice. Sorting should not become a repair project. Do not pull an image off its backing simply to make it fit a new system.
Keep Existing Groups Together Before Sorting Further
An envelope, album sequence or handwritten note may tell you more than the image alone. Before changing an existing group, record where it came from and copy any useful writing. If an envelope says “summer visit,” retain that clue even if nobody knows the year.
Make broad groups first. Depending on the collection, these might be decades, households, places or major occasions. Choose one main approach rather than switching between several incompatible systems.
For example, a collection spanning generations could use decade folders, with events inside each decade. A smaller collection might work better as household folders with approximate dates. Put uncertain pictures in an “unidentified” group instead of assigning a confident but unsupported date.
A useful first session ends when one batch has a clear home. It does not have to end with the whole collection finished.
Record Names, Dates and Uncertainty
Label the enclosure whenever possible. Write on a sleeve or folder before putting a photograph inside it, so the pressure cannot mark the print. Avoid sticky notes on the image, paper clips and rubber bands as organizing tools.
Record who appears, what is happening, where it took place and when. Use full names when known, including the relationship that makes the person recognizable to another reader. “Auntie” may be obvious today and confusing to someone else later.
Distinguish known details from guesses. “Probably 1988, identified by Leila in 2026” is more useful than an unexplained date. If relatives disagree, keep both accounts in the notes until there is better evidence.
A simple reference such as BOX1-023 can connect a print, its notes and a later digital copy. Put the reference on its enclosure and use it consistently. This numbering scheme is an organizational suggestion; the important part is that another person can follow it.
Choose Storage That Fits the Photographs
Buy storage for the sizes and quantities you actually have. A modest box with folders can be more practical than trying to put every photograph into a display album. Allow enough room to remove items without forcing them or leaving them to slump unsupported.
For valuable prints, look for enclosures that have passed the Photographic Activity Test, often abbreviated PAT. That is more informative than relying on the word “archival” alone. Suitable options include photo-safe paper enclosures and appropriate uncoated polyester, polypropylene or polyethylene sleeves. Avoid PVC sleeves. In persistently humid conditions, plastic can trap moisture and stick to photographic surfaces; seek suitable paper housing and improve the storage environment instead.
Use albums for selected groups you want to browse. Choose photo-safe pockets or photo corners rather than gluing or taping prints directly onto pages. Leave established albums intact if removing their contents would cause damage or destroy meaningful arrangements.
Keep large or fragile prints separately in appropriately sized support rather than folding them to fit a smaller container. Negatives and unusual historic formats may need different housing; do not assume the supplies for modern snapshots suit every photographic material.
Give the Boxes a Stable Home
A tidy system still needs a suitable location. Choose a cool, relatively dry place with reasonably stable conditions. An interior cupboard in the lived-in part of a home is generally a better starting point than a damp basement, hot attic or garage.
Keep boxes away from radiators, direct sunlight, leak-prone areas and locations with condensation. If an otherwise convenient shelf becomes hot or damp seasonally, look for another home for the collection.
Label each box clearly and keep a short contents list. “Box 2: 1990s, school and family visits” is easier to retrieve than several identical boxes marked “photos.” Keep the list somewhere another household member can find it, alongside the location notes in your household emergency document folder if that suits your existing system.
Make Digital Copies With a Clear Purpose
Start with photographs people want to share or identify. Copying a small selection gives you a chance to test your naming and filing system before digitizing everything.
For ordinary loose prints in sound condition, use equipment that supports them safely. Avoid automatic feed scanners for fragile or valuable originals. Do not flatten a bound album against a scanner or force it open to capture a page; an overhead photograph or professional service may be more appropriate.
Name the digital file with the same reference used on the enclosure, then add a short description. Record uncertain dates as uncertain in the accompanying notes. Keep the original print: a scan makes access and sharing easier, but it does not replace the physical object.
Follow a separate photo backup routine for the files. Before deleting digital duplicates or clearing online space, check that the copies are complete and recoverable; the cloud storage cleanup guide can help with that later step.
Leave the next unsorted batch in one clearly marked place. A small collection with reliable labels is already useful. Continue batch by batch, keeping enough context that the photographs still tell their story when someone else opens the box.