A half bag of carrots, a pepper and a tin of chickpeas can become dinner, but they will not all behave the same way in a hot pan. The useful skill is deciding what needs a head start, what needs space and what should go in near the end. Start with those decisions and you can work with ingredients already in your kitchen.
These one pan dinner basics focus on a flexible oven tray method. A roasting tray gives you a clear view of the ingredients and makes it easy to add them in stages. You still need a board, utensils and somewhere clean to serve the meal; one-pan cooking is a way to simplify the cooking, rather than a promise of no washing up.
Choose Ingredients That Can Share a Tray
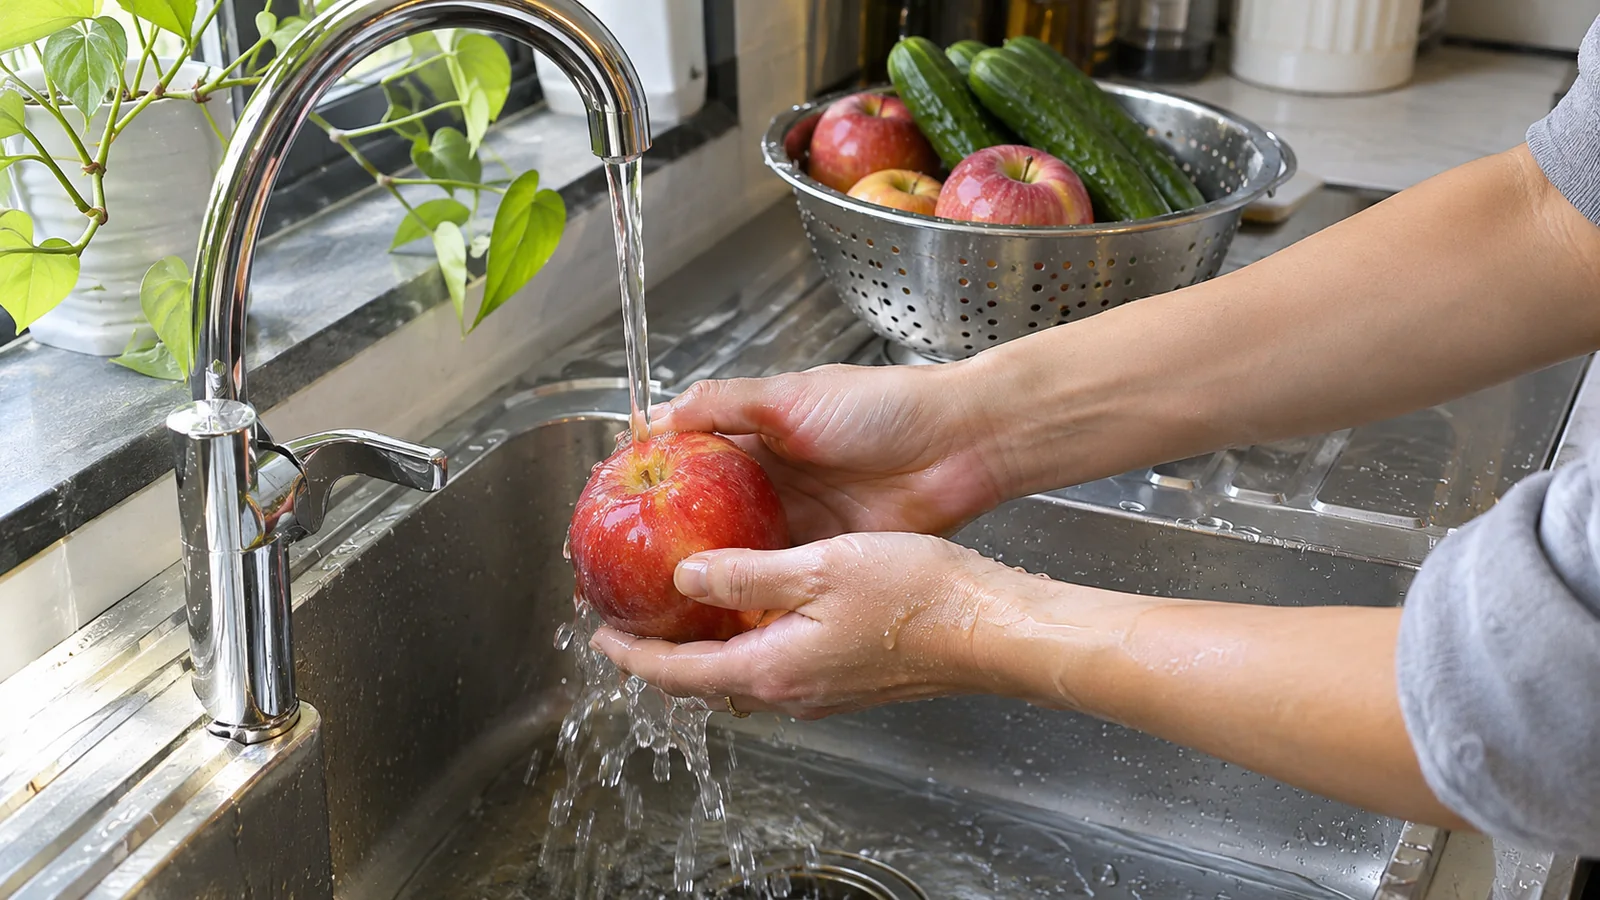
First check what is usable and what needs using soon. Follow storage instructions and use-by dates; roasting does not rescue spoiled food. Wash fresh produce as appropriate before cutting. Our guide to washing fruit and vegetables explains the basic preparation steps.
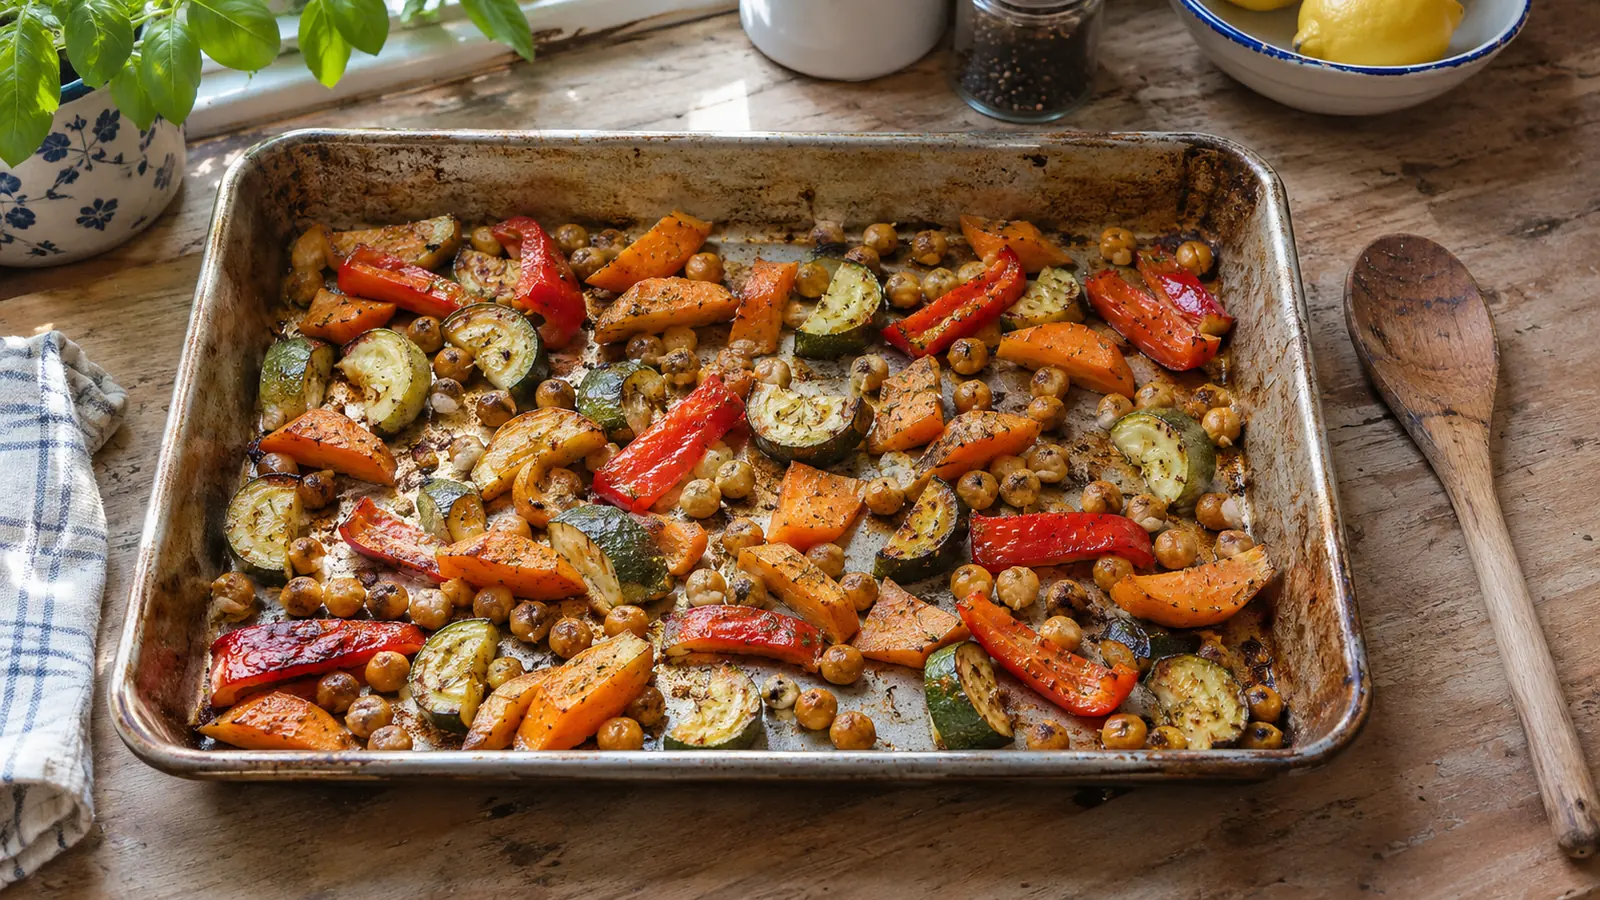
Choose a small group of ingredients rather than every leftover in the fridge. For a straightforward starting combination, try carrots, peppers, courgette and drained canned chickpeas. Add bread alongside if you want something more substantial without introducing another cooking process.
Think about the condition of an ingredient as well as its name. Raw potatoes need cooking through; already cooked potatoes need heating through. Canned chickpeas are different from dried chickpeas, which require their own preparation and cooking. Frozen vegetables may release enough water to change a dry roast into a softer dish. Read their instructions before deciding how they fit.
If you are starting out, choose a vegetable-and-canned-pulse tray. Once you add raw meat or fish, the whole meal needs a more deliberate food-safety plan. Do not use an improvised roasting method for an ingredient whose cooking requirements you do not understand.
Sort by Cooking Time Before You Switch On
A similar cut size helps pieces of the same vegetable cook more evenly, but it does not make different foods finish together. A small carrot piece can still need more time than a thin pepper strip. Group ingredients by how they behave:
- Firm vegetables, such as carrots and potatoes, usually need a head start.
- Softer vegetables, such as peppers and courgettes, can join later.
- Tender leaves, fresh herbs and delicate finishing ingredients belong close to serving.
- Already cooked additions need thorough heating without spending so long in the oven that they dry out.
These groups are planning aids, not a universal timetable. Variety, thickness, quantity, oven performance and starting temperature all affect the result. When using an unfamiliar ingredient, use a reliable recipe or package instructions to establish the method and temperature.
Put the ingredients into separate bowls or piles as you prepare them. That makes the sequence visible and prevents the easy mistake of tipping everything onto the tray before you have decided what needs longer.
Cook in Stages and Leave Room
For a first attempt, keep the quantity modest enough to spread across your oven-safe tray. Check the tray manufacturer’s heat limits, preheat the oven and use oven gloves when handling hot metal.
Start with the firm vegetables. Cut carrots into small, similar pieces, coat lightly with cooking oil and spread them out. An oven setting around 200°C conventional or 180°C fan is a practical starting point for this vegetable tray; adjust to your appliance and ingredient instructions.
Check before adding the next group. After roughly 15–20 minutes, carefully turn a piece and test how far it has softened. This is a check-in point, not a guaranteed cooking time. Give thick or still-hard pieces longer before adding quick-cooking vegetables.
Add the softer vegetables and chickpeas. Drain the chickpeas and dry excess surface moisture from the vegetables. Toss with a little oil and your chosen seasoning, then spread everything out again. Leave visible gaps rather than building a heap.
Turn and assess. Check again after about 10–15 minutes, then as needed. Move faster-browning pieces away from hot spots and turn the vegetables. If the tray looks crowded, reduce the quantity or use another tray instead of forcing the whole meal into one pan.
Finish only when the components are ready. Test several firm vegetable pieces for tenderness. Add fresh herbs or a squeeze of lemon at the table. Taste cooked plant ingredients with a clean utensil and adjust seasoning before serving.
The time ranges are prompts to look, turn and test. They are not safety instructions for raw animal foods. Stay nearby, and shorten the interval if ingredients are browning quickly.
Read What the Pan Is Telling You
A pool of liquid and pale, soft vegetables suggests you are getting a wetter result than intended. Reduce crowding next time and dry washed vegetables before oiling them. Some moisture is normal, especially with watery ingredients; you can choose a softer dinner rather than chasing crisp edges at any cost.
If edges brown while the centres remain hard, cut firm vegetables smaller on the next attempt or give them a longer head start. During cooking, lower the heat if needed and keep checking. Adding delicate ingredients earlier will not fix an undercooked potato.
If one component finishes first, move it to a clean serving dish while the rest continues. That is a useful adjustment. The aim is a good meal, so allow yourself another dish when the ingredients need it.
Keep Doneness and Storage Checks Separate
Colour and crispness describe the surface. They cannot establish that raw meat is safe. If adapting this method with poultry, use a food thermometer to confirm at least 74°C in the thickest part, avoiding bone, and follow product instructions. Keep raw juices and their utensils away from ready-to-eat foods. Never remove vegetables exposed to raw poultry juices as an early snack.
For reheated leftovers, check that they reach 74°C throughout. Refrigerate perishable leftovers within two hours, or within one hour when the surrounding temperature is above 32°C. Divide them into shallow containers so they cool promptly. Do not leave the whole tray on the counter until bedtime.
Save the Combination That Worked
Record the ingredients, approximate cuts, oven setting and order of additions. Include what you would change, such as fewer peppers or a longer carrot head start. Your own tray and oven matter more than a borrowed promise that every dinner takes the same number of minutes.
For more ways to use a familiar pantry ingredient, see our easy canned bean meals. Keep the next attempt similarly simple: choose compatible foods, give slower ingredients time and check the meal before serving. That is enough structure to make a flexible dinner without turning it into a shopping project.