
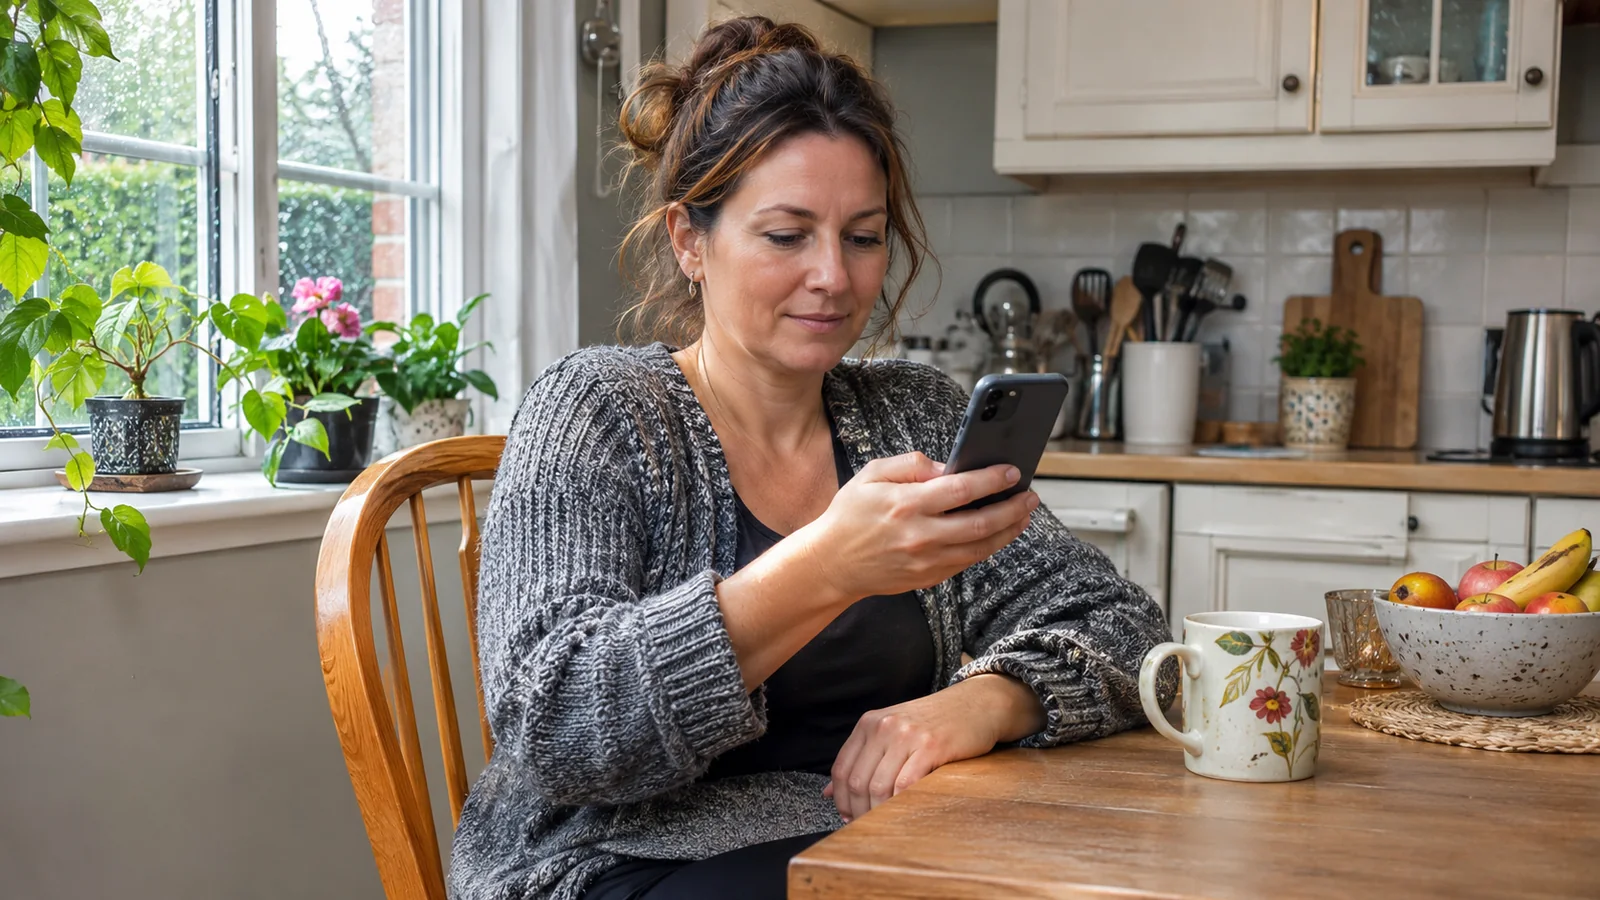
A phone can feel manageable until you need a control at the top of the screen or a letter on the far side of the keyboard. Rather than shifting your grip every time, start with the settings already on the device. Screen reachability and keyboard layout solve different parts of the problem, so test them separately.
One handed phone use should fit the task and your circumstances. Set things up while seated, with the phone over a table or your lap. If a task still requires an awkward stretch, support the device or use another method. A smaller interface is useful only if you can read and operate it comfortably.
Identify What You Cannot Reach
Choose one ordinary task, such as opening a saved note and adding a sentence. Notice exactly where you hesitate. Is the app icon too high? Is the back control on the opposite side? Are the keyboard’s outer letters difficult to reach?
Make a short list of those obstacles before changing anything. Moving the top of the screen downward will not necessarily make a wide keyboard easier to type on. Equally, a narrow keyboard does not relocate an app’s toolbar. Keeping those problems separate makes the settings easier to evaluate.
Check which keyboard is actually open, too. A phone’s operating system and its installed keyboard have separate controls. Instructions for Apple’s keyboard do not describe every third-party keyboard, and an Android phone does not necessarily use the same keyboard as another Android model.
Bring the Top of the Screen Closer
On a compatible iPhone
Apple calls its feature Reachability. It temporarily lowers the upper portion of the display in portrait orientation. On a supported model, open Settings > Accessibility > Touch and enable Reachability.
On a compatible Face ID iPhone, swipe downward along the screen’s bottom edge. On a supported Home-button model, lightly double-tap that button rather than pressing it twice. Tap the upper screen area to return to the full view. Model support matters: Apple’s current guide lists exceptions, so confirm availability in the guide for your particular iPhone if the setting is missing.
Try it first in a familiar app without sending or deleting anything. Check whether the formerly distant control is now reachable. This is a temporary way to access upper content, rather than a permanent rearrangement of the app.
On Android phones
Google’s Android guidance recommends opening Settings, searching for One-handed mode, and enabling Use One-handed mode. Its documented feature pulls upper content down. Some instructions apply only to Android 12 and later, and availability and labels differ across devices.
Read the activation instructions displayed on your phone. Do not assume that a gesture shown for another manufacturer’s model will work on yours. If the search returns nothing, check the manufacturer’s support page for the exact model and software version before looking for an extra app.
On Samsung Galaxy phones
Samsung’s built-in One-handed mode scales the display down. Its support instructions place the setting under Settings > Advanced features > One-handed mode. Enable it and choose the offered gesture or button activation method.
The reduced window can be moved toward the hand you use. Supported controls also allow position or size adjustments; follow the instructions shown for your software version. Samsung documents tapping the empty area outside the smaller window to exit. Test the exit action before relying on the feature during an ordinary task.
Reducing the whole display can make text smaller. If that makes reading harder, a larger window or a different accessibility option may suit you better. The smallest possible window is not automatically the best setup.
Adjust Typing Separately
On Apple’s onscreen keyboard, touch and hold the emoji or keyboard-switch key to open the layout choices. Select the left or right layout to bring the keys toward that side. Use the keyboard’s outer edge control to return to the centered layout.
Type a short draft with punctuation and a correction, without sending it. Compare the side layout with the full keyboard. Bringing the far letters closer may help, but narrower keys can create a different difficulty. Keep the version that works better for your actual typing.
For an Android keyboard, open its own settings or toolbar and check its current help for layout, resizing or one-handed options. Availability depends on the keyboard app and version. Avoid following an iPhone keyboard path on Android or assuming that turning on the phone’s screen mode also changes the keyboard layout.
If you try voice input instead, review the words before sending and consider who can hear you. There is no need to dictate private account information simply to avoid reaching a key.
Move Everyday Shortcuts Within Reach
Look at the home screen while holding the phone in your usual hand. Where your launcher allows it, place a few frequently used apps in positions you can reach without sliding the device around. Keep the selection small: messages, notes and whichever everyday tool you actually open often.
Test the arrangement before moving everything. A folder can save space but add another tap, and its contents may open beyond your comfortable reach. Widgets can occupy useful lower-screen space without making the relevant action easier.
Use notification settings as a separate cleanup task if alerts keep interrupting the test. Our guide to reducing notification overload covers that process. Fewer interruptions will not change screen dimensions, but they can make your everyday workflow simpler to assess.
Run a Short Before-and-After Check
Once the settings are ready, repeat the same task you chose at the start:
- Open the app from its new position.
- Reach an upper control using the built-in mode.
- Write and correct a short sentence.
- Return to the normal display and keyboard layout.
- Decide which change to keep and which to reverse.
Notice missed taps, text readability and whether you keep readjusting your grip. Change one setting at a time if the result is unclear. A useful setup should be easy to leave as well as easy to activate.
You do not need to install a new utility just to begin. If you later consider one, review its permissions and purpose carefully; our phone app permissions guide provides a practical starting point.
Keep the changes that solve a specific reach problem. Use support or another input method for the tasks that remain awkward, and revisit the setup after a software update or a change of keyboard. The aim is a phone arrangement you can operate comfortably, with clear controls and a familiar way back to normal.