Freezing bread is easier to manage when you slice it first, divide it into useful portions and seal each pack well. Keep out the amount you expect to eat soon, freeze the rest while it is still in good condition, and remove only the slices you need.
A whole frozen loaf can be inconvenient when breakfast calls for two pieces of toast. A few small decisions before freezing make the bread easier to use later, especially in a household where people eat at different times.
Decide What One Portion Means at Home
Start with the meal rather than the size of the loaf. If you normally make a two-slice sandwich, a pair of slices is a practical pack. If several people eat toast together, a larger breakfast pack may suit you better. There is no universal portion size for freezing bread.
For example, a household might keep four slices out for the next breakfast and divide the remaining twelve into six pairs. This is simply a planning example: adjust it to your appetite, the bread and how quickly your household uses it.
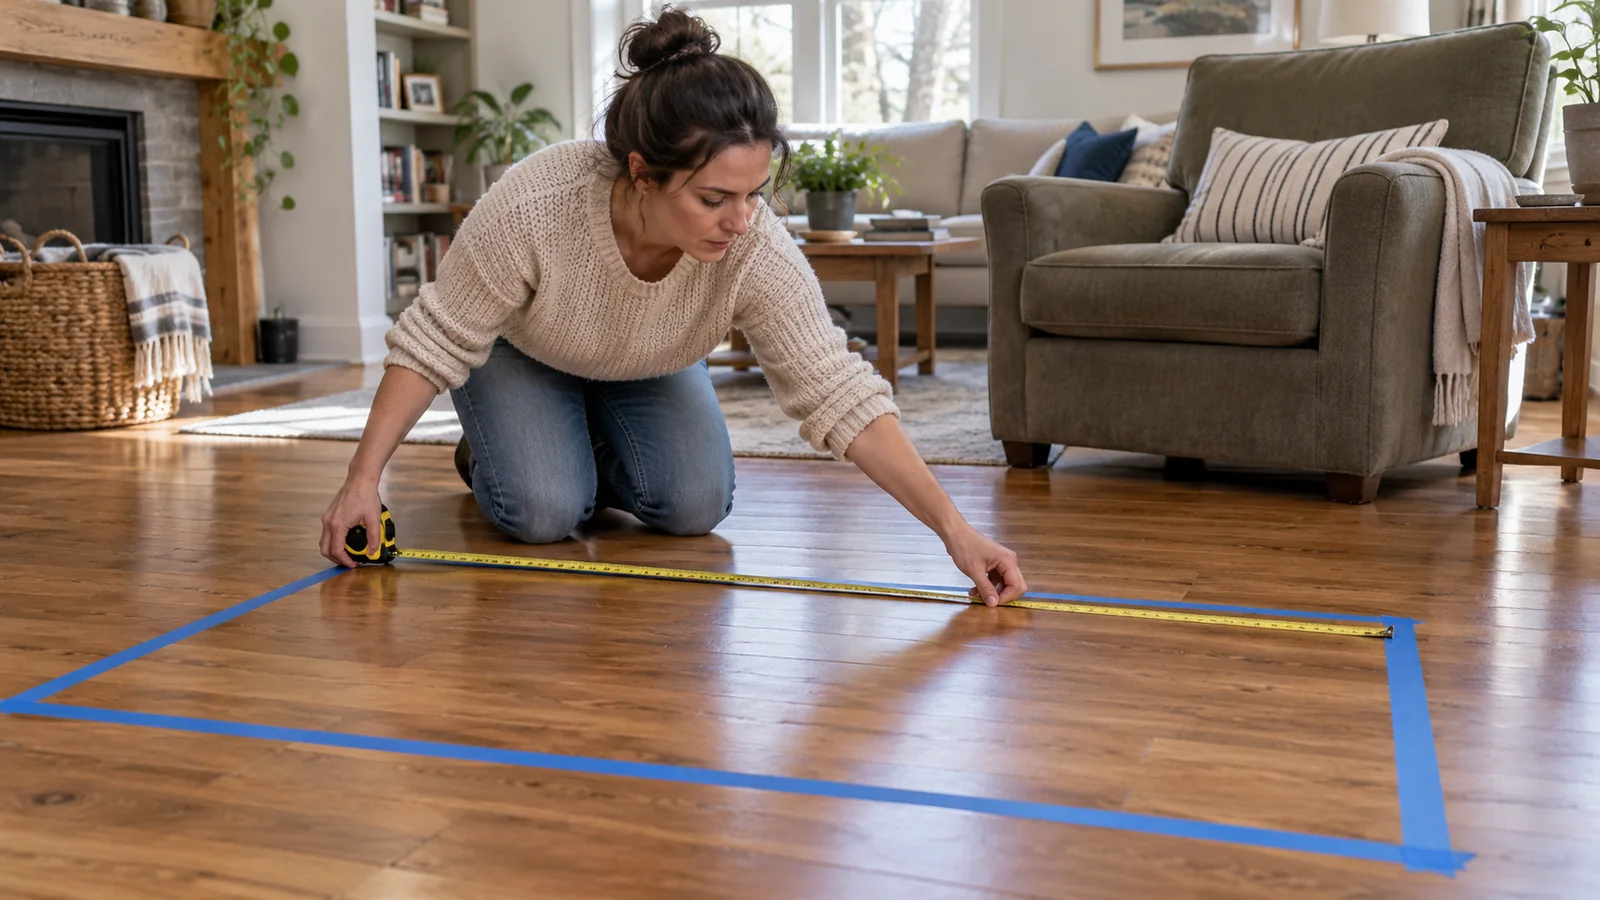
Check your freezer space before buying several loaves. Bread is light but bulky, and a system that requires moving everything to find one bag will soon become frustrating. Give it a recognisable place that everyone at home can reach.
Prepare, Pack and Freeze the Bread
Use this sequence for ordinary, unfilled bread. Follow specific package instructions when they differ, particularly for products with fillings or special storage requirements.
- Check the bread first. Freeze bread that is still suitable to eat. If it shows mould, discard it; cutting away a visible patch does not make the rest safe. Freezing does not repair spoiled food.
- Let freshly baked bread cool. Avoid packing it while it is still giving off steam. Otherwise, moisture can collect inside the wrapping. Use clean hands, utensils and a clean work surface.
- Slice a whole loaf before freezing. Choose a thickness that fits the way you will serve it. Cut rolls or bagels before freezing if you usually use them split, taking care with the knife.
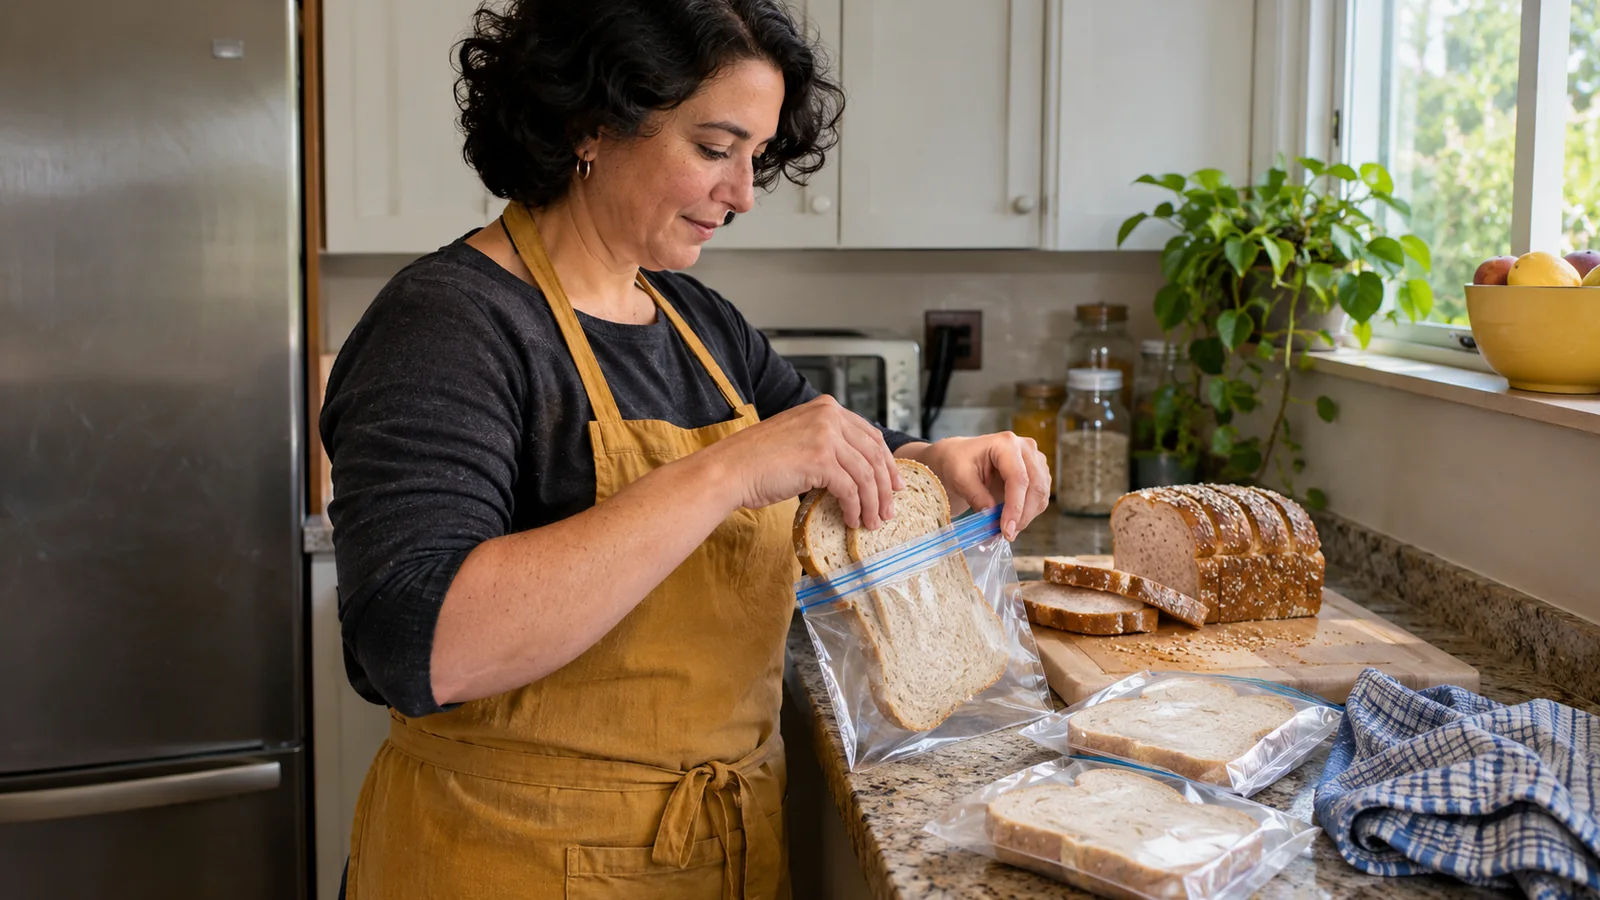
- Divide it into your chosen portions. Separate slices gently so that you are not relying on breaking apart a solid block later. If your slices tend to stick, try a suitable food-contact separator between them.
- Seal each pack. Use food-safe freezer bags or suitable airtight containers. Remove excess air gently without crushing the bread, then close the pack properly. Protect it from contact with other foods and strong smells.
- Label and organise. Write the type of bread and freezing date on the pack. Add the number of slices if that helps. Put newer packs behind older ones and avoid loading heavy food on top of soft bread.
You do not need to wrap every slice separately. Choose the least complicated arrangement that lets you retrieve the amount you actually use. Reusable containers may work well for some households; compact bags may be easier where space is tight. Use packaging as its manufacturer intends.
Make the Label Useful Later
“Bread, two slices, frozen 4 November” tells you more than an unmarked bag. Include an important variety or dietary distinction if several types look similar. Keep bread needed for an allergy or other dietary requirement clearly identified and protected from cross-contact.
The date helps you rotate your stock; it is not a guarantee of safety. Packaging, the bread’s condition before freezing and a reliably cold freezer all matter. Check the product’s storage guidance rather than assigning every loaf the same deadline.
Keep a freezer at about −18°C (0°F), and use an appliance thermometer to check it. Our refrigerator and freezer temperature guide explains the monitoring routine. If the freezer has warmed during a fault or power cut, follow relevant food-safety advice rather than relying on the label alone.
For the first few packs, note whether the bread still suits your preferred use when you take it out. If packs regularly sit untouched, freeze less next time or make smaller portions. The aim is to keep bread moving through the kitchen.
Choose How You Will Use the Frozen Portion
For toast, ordinary sliced bread can often go straight from frozen into a toaster. Use the appliance’s instructions and frozen setting if it has one. Slices must fit safely; never force thick bread into the slots or put wrapping or separators into the appliance.
For an unfilled sandwich, remove the slices you need and let them thaw in clean, covered conditions. The time varies with thickness, room conditions and the amount of bread, so allow some flexibility rather than relying on an exact number of minutes. Check that the centre is thawed before using it.
A roll or thicker piece may suit warming in an oven according to its package guidance. Take off unsuitable packaging first and follow the appliance instructions. Watch the bread so it does not dry out or burn.
These suggestions concern plain bread. Once you add meat, dairy or another perishable filling, the storage and transport requirements of that filling matter too. Do not assume a frozen slice makes a filled sandwich safe to leave unrefrigerated.
Avoid Thawing the Whole Supply for One Meal
Take a portion out, reseal the remaining bread and return it promptly to the freezer. Small packs make this straightforward and reduce unnecessary handling. Keep the oldest usable pack at the front so it is the easy choice.
If you repeatedly thaw more than you eat, change the pack size. A four-slice pack may be right for a shared breakfast but awkward for someone who only wants one piece of toast. Record your usual amounts in the same place you plan groceries; our grocery list planning guide can help connect buying with meals.
Dry bread and mouldy bread need different decisions. Sound bread that has become dry may still suit breadcrumbs or croutons. Bread with mould should be discarded, including slices from a loaf where mould is visible only in one area. Toasting is not a way to rescue it.
Package dates also need context. Our guide to food date labels explains why wording and storage instructions matter. Check the actual product rather than using a general bread-storage tip to override its directions.
Start with one loaf and one useful portion size. Slice, seal, label and leave the packs where they are easy to find. After a few breakfasts or lunches, adjust the amount you freeze so the routine fits the food you really eat.